Hentai GalleryPage 2 / 5

Yoruka Kirihime - Undefeated Bahamut Chronicle (Saijaku Muhai no Bahamut) - Hentai Gallery 5 — Page 2

Images 25–124 of 389

Back to main gallery
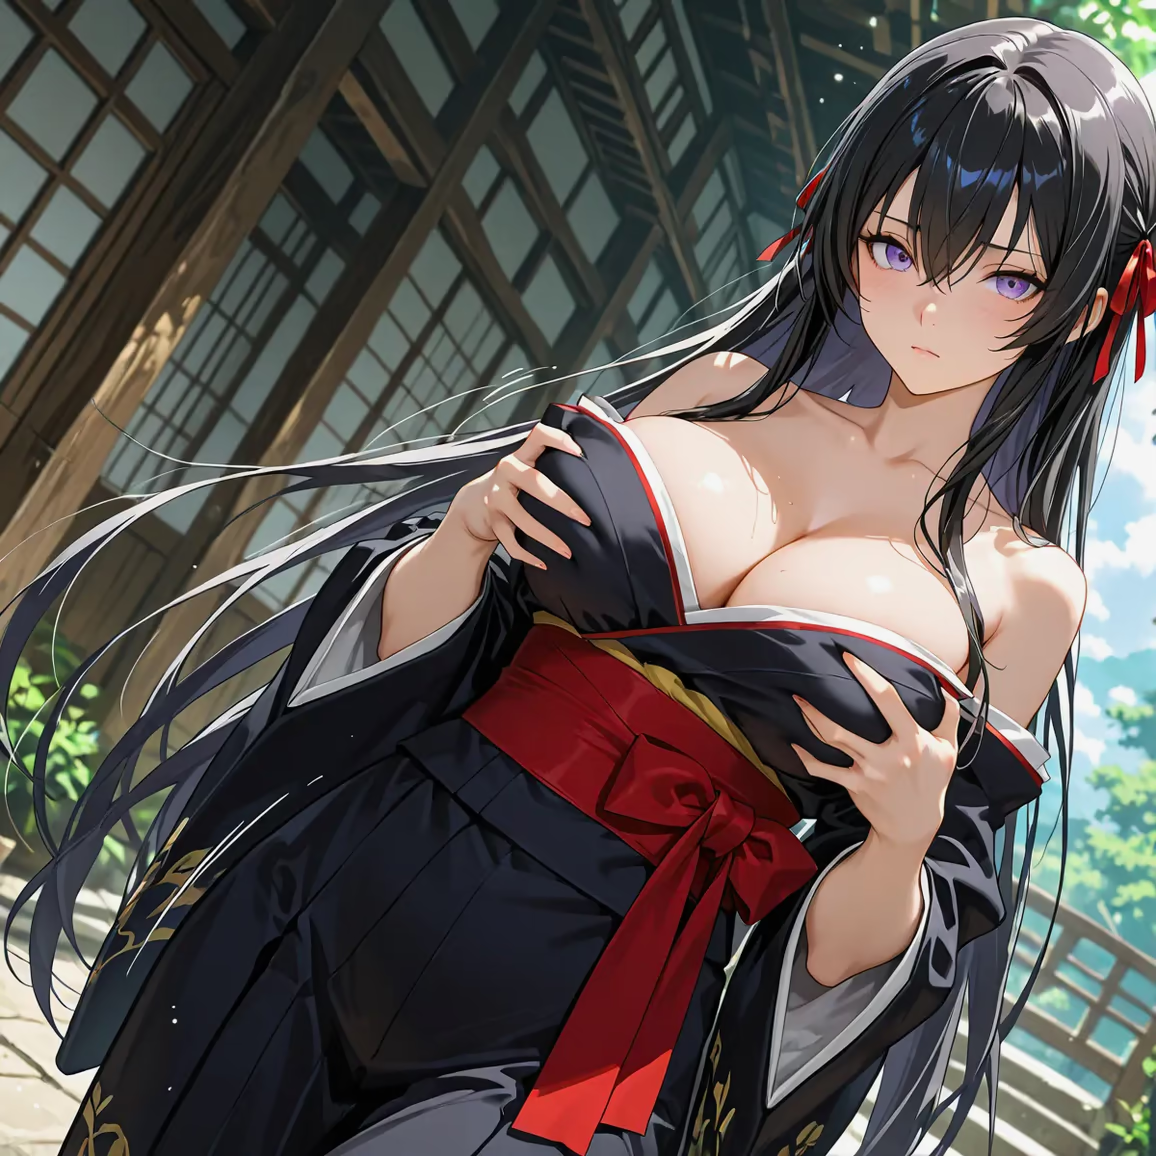
Yoruka Kirihime - Undefeated Bahamut Chronicle — image 25 of 389
25 / 389
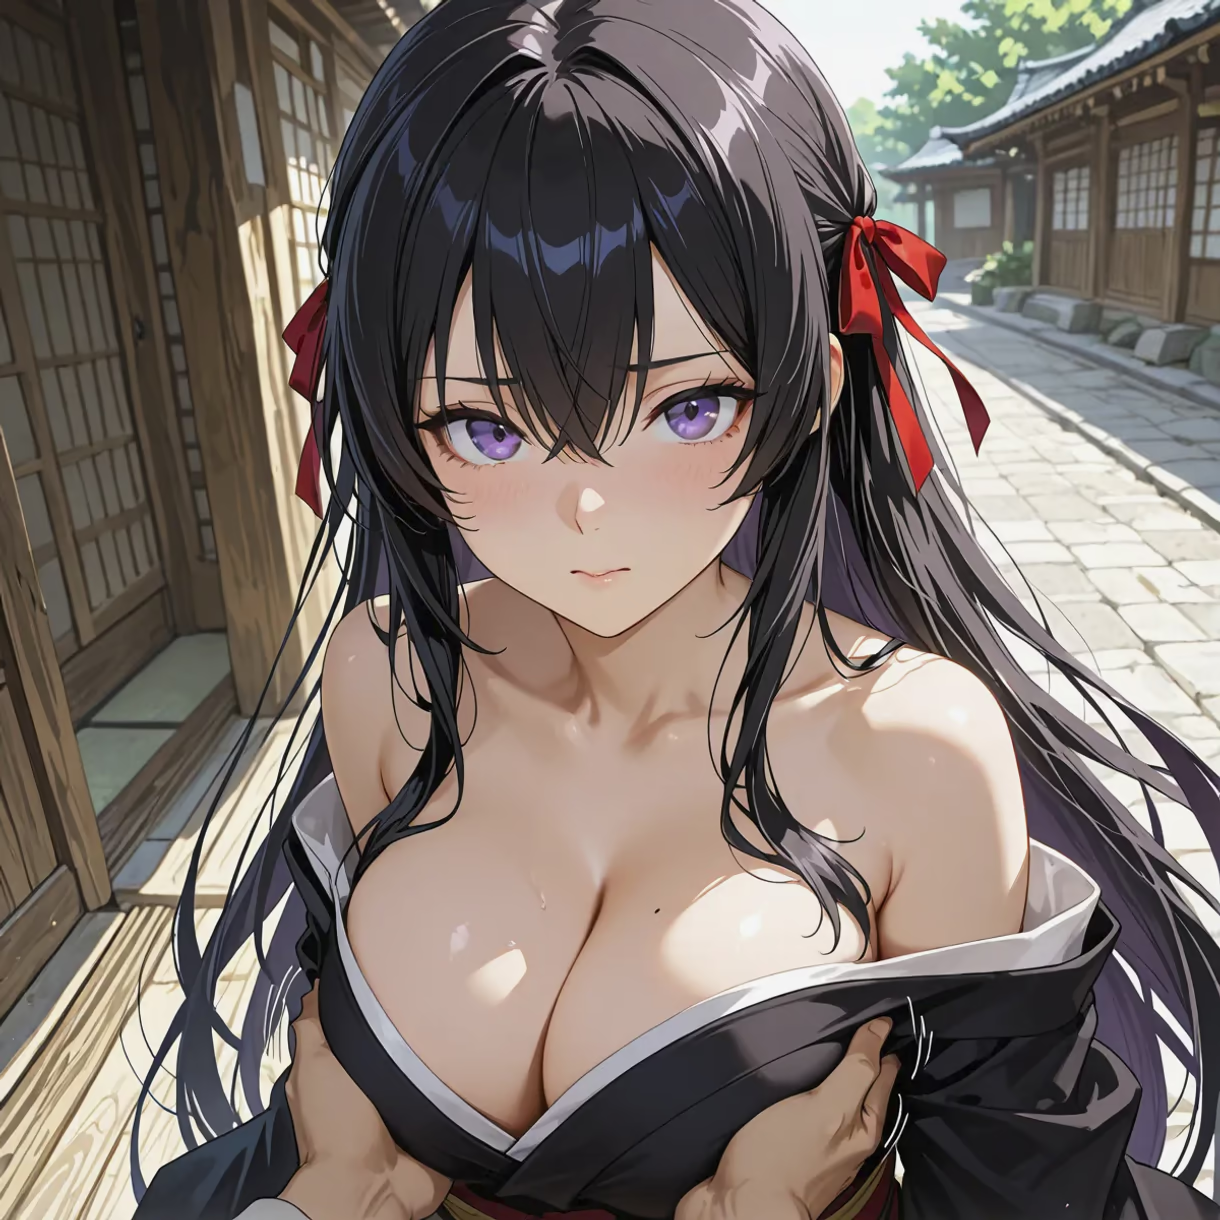
Yoruka Kirihime - Undefeated Bahamut Chronicle — image 26 of 389
26 / 389
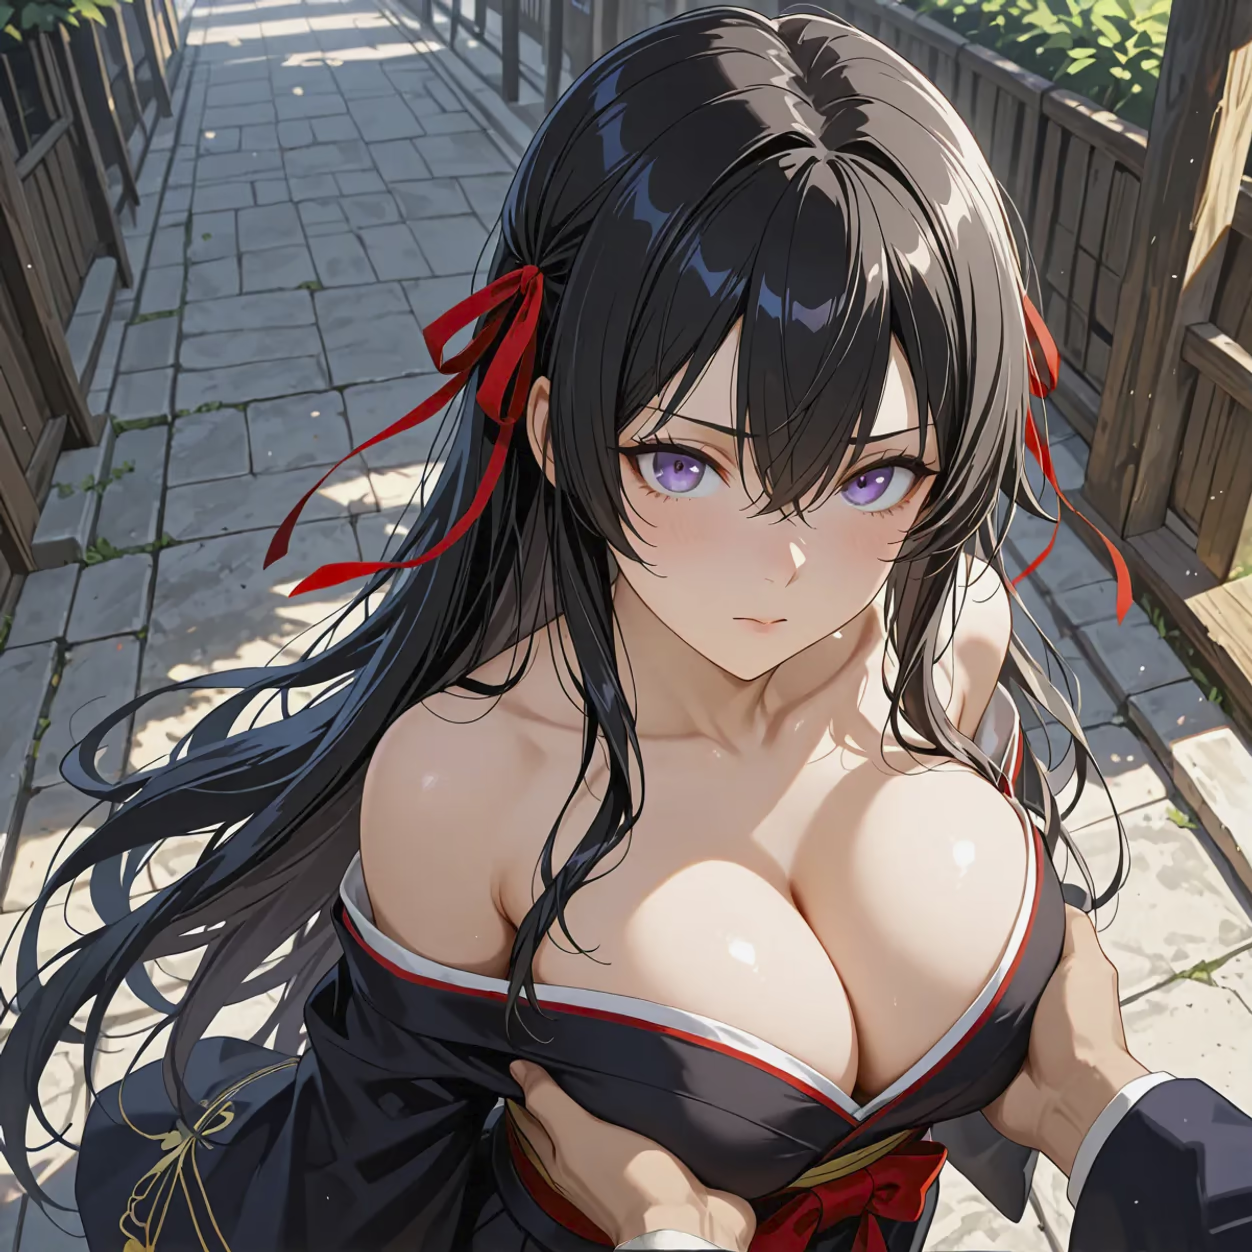
Yoruka Kirihime - Undefeated Bahamut Chronicle — image 27 of 389
27 / 389
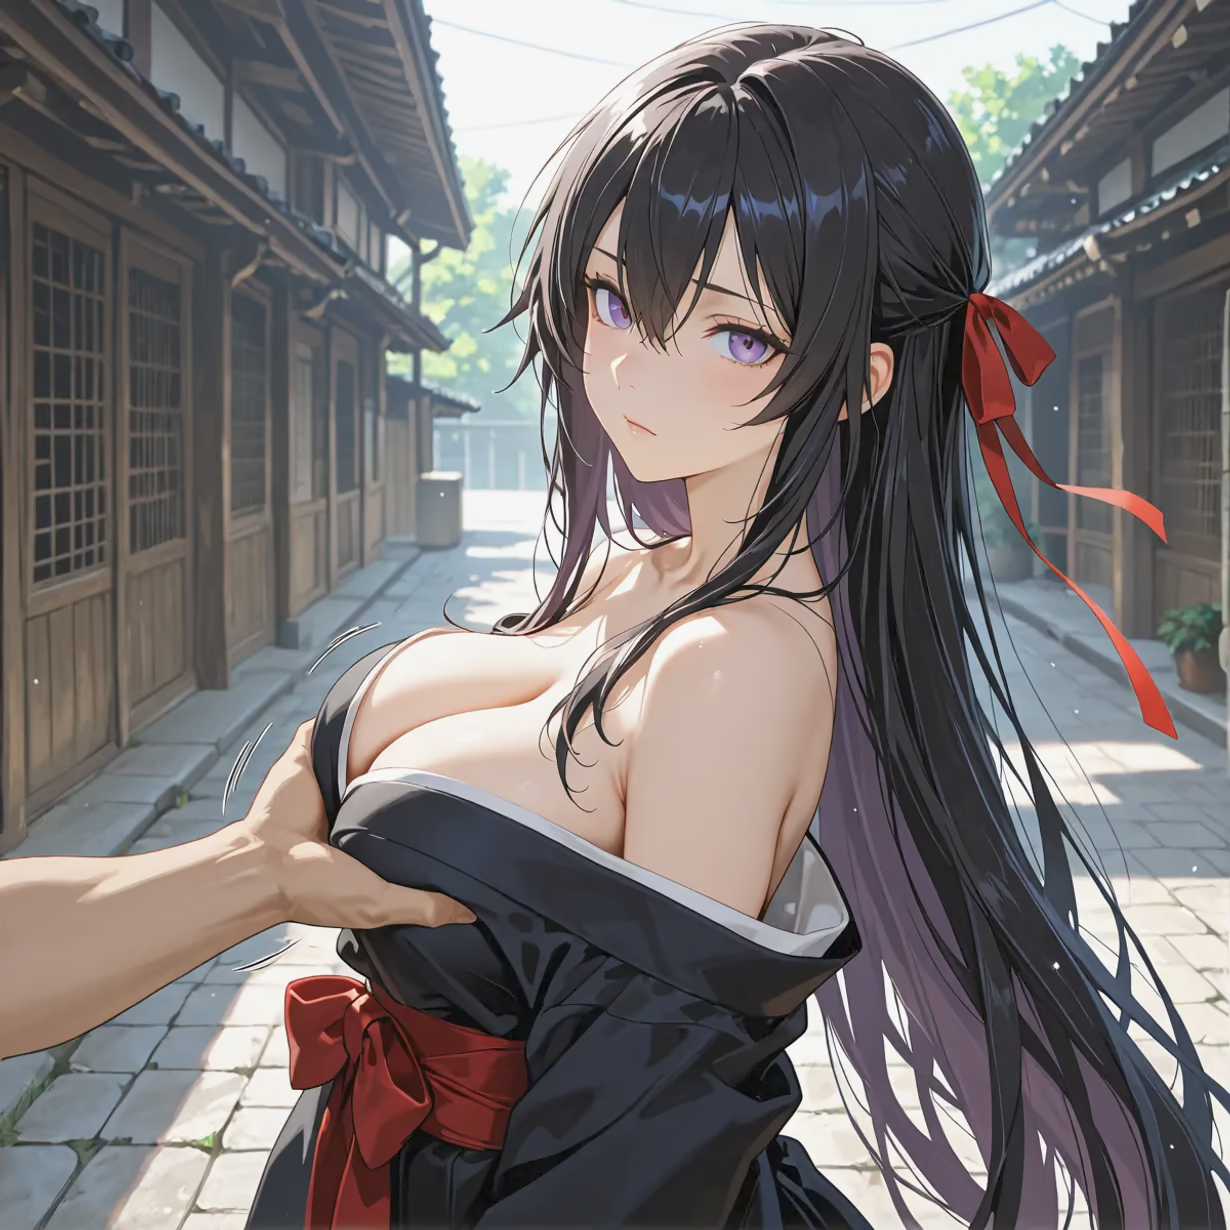
Yoruka Kirihime - Undefeated Bahamut Chronicle — image 28 of 389
28 / 389
Yoruka Kirihime - Undefeated Bahamut Chronicle — image 29 of 389
29 / 389
Yoruka Kirihime - Undefeated Bahamut Chronicle — image 30 of 389
30 / 389
Yoruka Kirihime - Undefeated Bahamut Chronicle — image 31 of 389
31 / 389
Yoruka Kirihime - Undefeated Bahamut Chronicle — image 32 of 389
32 / 389
Yoruka Kirihime - Undefeated Bahamut Chronicle — image 33 of 389
33 / 389
Yoruka Kirihime - Undefeated Bahamut Chronicle — image 34 of 389
34 / 389
Yoruka Kirihime - Undefeated Bahamut Chronicle — image 35 of 389
35 / 389
Yoruka Kirihime - Undefeated Bahamut Chronicle — image 36 of 389
36 / 389
Yoruka Kirihime - Undefeated Bahamut Chronicle — image 37 of 389
37 / 389
Yoruka Kirihime - Undefeated Bahamut Chronicle — image 38 of 389
38 / 389
Yoruka Kirihime - Undefeated Bahamut Chronicle — image 39 of 389
39 / 389
Yoruka Kirihime - Undefeated Bahamut Chronicle — image 40 of 389
40 / 389
Yoruka Kirihime - Undefeated Bahamut Chronicle — image 41 of 389
41 / 389
Yoruka Kirihime - Undefeated Bahamut Chronicle — image 42 of 389
42 / 389
Yoruka Kirihime - Undefeated Bahamut Chronicle — image 43 of 389
43 / 389
Yoruka Kirihime - Undefeated Bahamut Chronicle — image 44 of 389
44 / 389

Yoruka Kirihime - Undefeated Bahamut Chronicle — image 45 of 389
45 / 389
Yoruka Kirihime - Undefeated Bahamut Chronicle — image 46 of 389
46 / 389

Yoruka Kirihime - Undefeated Bahamut Chronicle — image 47 of 389
47 / 389
Yoruka Kirihime - Undefeated Bahamut Chronicle — image 48 of 389
48 / 389

Yoruka Kirihime - Undefeated Bahamut Chronicle — image 49 of 389
49 / 389
Yoruka Kirihime - Undefeated Bahamut Chronicle — image 50 of 389
50 / 389
Yoruka Kirihime - Undefeated Bahamut Chronicle — image 51 of 389
51 / 389
Yoruka Kirihime - Undefeated Bahamut Chronicle — image 52 of 389
52 / 389
Yoruka Kirihime - Undefeated Bahamut Chronicle — image 53 of 389
53 / 389
Yoruka Kirihime - Undefeated Bahamut Chronicle — image 54 of 389
54 / 389
Yoruka Kirihime - Undefeated Bahamut Chronicle — image 55 of 389
55 / 389
Yoruka Kirihime - Undefeated Bahamut Chronicle — image 56 of 389
56 / 389
Yoruka Kirihime - Undefeated Bahamut Chronicle — image 57 of 389
57 / 389
Yoruka Kirihime - Undefeated Bahamut Chronicle — image 58 of 389
58 / 389
Yoruka Kirihime - Undefeated Bahamut Chronicle — image 59 of 389
59 / 389
Yoruka Kirihime - Undefeated Bahamut Chronicle — image 60 of 389
60 / 389
Yoruka Kirihime - Undefeated Bahamut Chronicle — image 61 of 389
61 / 389
Yoruka Kirihime - Undefeated Bahamut Chronicle — image 62 of 389
62 / 389
Yoruka Kirihime - Undefeated Bahamut Chronicle — image 63 of 389
63 / 389
Yoruka Kirihime - Undefeated Bahamut Chronicle — image 64 of 389
64 / 389
Yoruka Kirihime - Undefeated Bahamut Chronicle — image 65 of 389
65 / 389
Yoruka Kirihime - Undefeated Bahamut Chronicle — image 66 of 389
66 / 389
Yoruka Kirihime - Undefeated Bahamut Chronicle — image 67 of 389
67 / 389
Yoruka Kirihime - Undefeated Bahamut Chronicle — image 68 of 389
68 / 389
Yoruka Kirihime - Undefeated Bahamut Chronicle — image 69 of 389
69 / 389
Yoruka Kirihime - Undefeated Bahamut Chronicle — image 70 of 389
70 / 389
Yoruka Kirihime - Undefeated Bahamut Chronicle — image 71 of 389
71 / 389
Yoruka Kirihime - Undefeated Bahamut Chronicle — image 72 of 389
72 / 389
Yoruka Kirihime - Undefeated Bahamut Chronicle — image 73 of 389
73 / 389
Yoruka Kirihime - Undefeated Bahamut Chronicle — image 74 of 389
74 / 389
Yoruka Kirihime - Undefeated Bahamut Chronicle — image 75 of 389
75 / 389
Yoruka Kirihime - Undefeated Bahamut Chronicle — image 76 of 389
76 / 389
Yoruka Kirihime - Undefeated Bahamut Chronicle — image 77 of 389
77 / 389
Yoruka Kirihime - Undefeated Bahamut Chronicle — image 78 of 389
78 / 389
Yoruka Kirihime - Undefeated Bahamut Chronicle — image 79 of 389
79 / 389
Yoruka Kirihime - Undefeated Bahamut Chronicle — image 80 of 389
80 / 389
Yoruka Kirihime - Undefeated Bahamut Chronicle — image 81 of 389
81 / 389
Yoruka Kirihime - Undefeated Bahamut Chronicle — image 82 of 389
82 / 389
Yoruka Kirihime - Undefeated Bahamut Chronicle — image 83 of 389
83 / 389
Yoruka Kirihime - Undefeated Bahamut Chronicle — image 84 of 389
84 / 389
Yoruka Kirihime - Undefeated Bahamut Chronicle — image 85 of 389
85 / 389
Yoruka Kirihime - Undefeated Bahamut Chronicle — image 86 of 389
86 / 389
Yoruka Kirihime - Undefeated Bahamut Chronicle — image 87 of 389
87 / 389
Yoruka Kirihime - Undefeated Bahamut Chronicle — image 88 of 389
88 / 389
Yoruka Kirihime - Undefeated Bahamut Chronicle — image 89 of 389
89 / 389
Yoruka Kirihime - Undefeated Bahamut Chronicle — image 90 of 389
90 / 389
Yoruka Kirihime - Undefeated Bahamut Chronicle — image 91 of 389
91 / 389
Yoruka Kirihime - Undefeated Bahamut Chronicle — image 92 of 389
92 / 389
Yoruka Kirihime - Undefeated Bahamut Chronicle — image 93 of 389
93 / 389
Yoruka Kirihime - Undefeated Bahamut Chronicle — image 94 of 389
94 / 389
Yoruka Kirihime - Undefeated Bahamut Chronicle — image 95 of 389
95 / 389
Yoruka Kirihime - Undefeated Bahamut Chronicle — image 96 of 389
96 / 389
Yoruka Kirihime - Undefeated Bahamut Chronicle — image 97 of 389
97 / 389
Yoruka Kirihime - Undefeated Bahamut Chronicle — image 98 of 389
98 / 389
Yoruka Kirihime - Undefeated Bahamut Chronicle — image 99 of 389
99 / 389
Yoruka Kirihime - Undefeated Bahamut Chronicle — image 100 of 389
100 / 389
Yoruka Kirihime - Undefeated Bahamut Chronicle — image 101 of 389
101 / 389
Yoruka Kirihime - Undefeated Bahamut Chronicle — image 102 of 389
102 / 389
Yoruka Kirihime - Undefeated Bahamut Chronicle — image 103 of 389
103 / 389
Yoruka Kirihime - Undefeated Bahamut Chronicle — image 104 of 389
104 / 389
Yoruka Kirihime - Undefeated Bahamut Chronicle — image 105 of 389
105 / 389
Yoruka Kirihime - Undefeated Bahamut Chronicle — image 106 of 389
106 / 389
Yoruka Kirihime - Undefeated Bahamut Chronicle — image 107 of 389
107 / 389
Yoruka Kirihime - Undefeated Bahamut Chronicle — image 108 of 389
108 / 389
Yoruka Kirihime - Undefeated Bahamut Chronicle — image 109 of 389
109 / 389
Yoruka Kirihime - Undefeated Bahamut Chronicle — image 110 of 389
110 / 389
Yoruka Kirihime - Undefeated Bahamut Chronicle — image 111 of 389
111 / 389
Yoruka Kirihime - Undefeated Bahamut Chronicle — image 112 of 389
112 / 389
Yoruka Kirihime - Undefeated Bahamut Chronicle — image 113 of 389
113 / 389
Yoruka Kirihime - Undefeated Bahamut Chronicle — image 114 of 389
114 / 389
Yoruka Kirihime - Undefeated Bahamut Chronicle — image 115 of 389
115 / 389
Yoruka Kirihime - Undefeated Bahamut Chronicle — image 116 of 389
116 / 389
Yoruka Kirihime - Undefeated Bahamut Chronicle — image 117 of 389
117 / 389
Yoruka Kirihime - Undefeated Bahamut Chronicle — image 118 of 389
118 / 389
Yoruka Kirihime - Undefeated Bahamut Chronicle — image 119 of 389
119 / 389
Yoruka Kirihime - Undefeated Bahamut Chronicle — image 120 of 389
120 / 389
Yoruka Kirihime - Undefeated Bahamut Chronicle — image 121 of 389
121 / 389
Yoruka Kirihime - Undefeated Bahamut Chronicle — image 122 of 389
122 / 389
Yoruka Kirihime - Undefeated Bahamut Chronicle — image 123 of 389
123 / 389
Yoruka Kirihime - Undefeated Bahamut Chronicle — image 124 of 389
124 / 389