Hentai GalleryPage 3 / 5

Yoruka Kirihime - Undefeated Bahamut Chronicle (Saijaku Muhai no Bahamut) - Hentai Gallery 5 — Page 3

Images 125–224 of 389

Back to main gallery
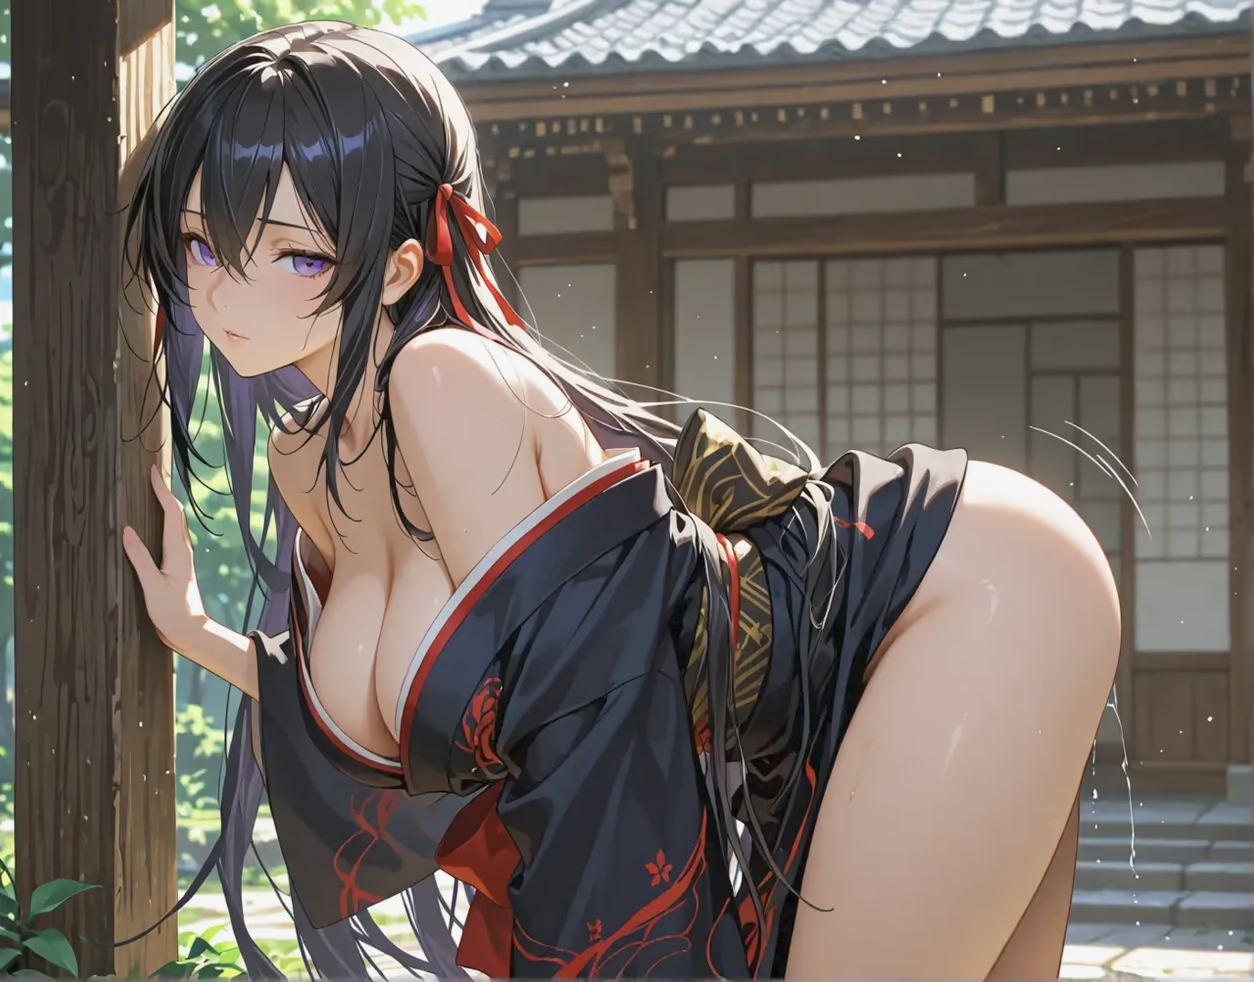
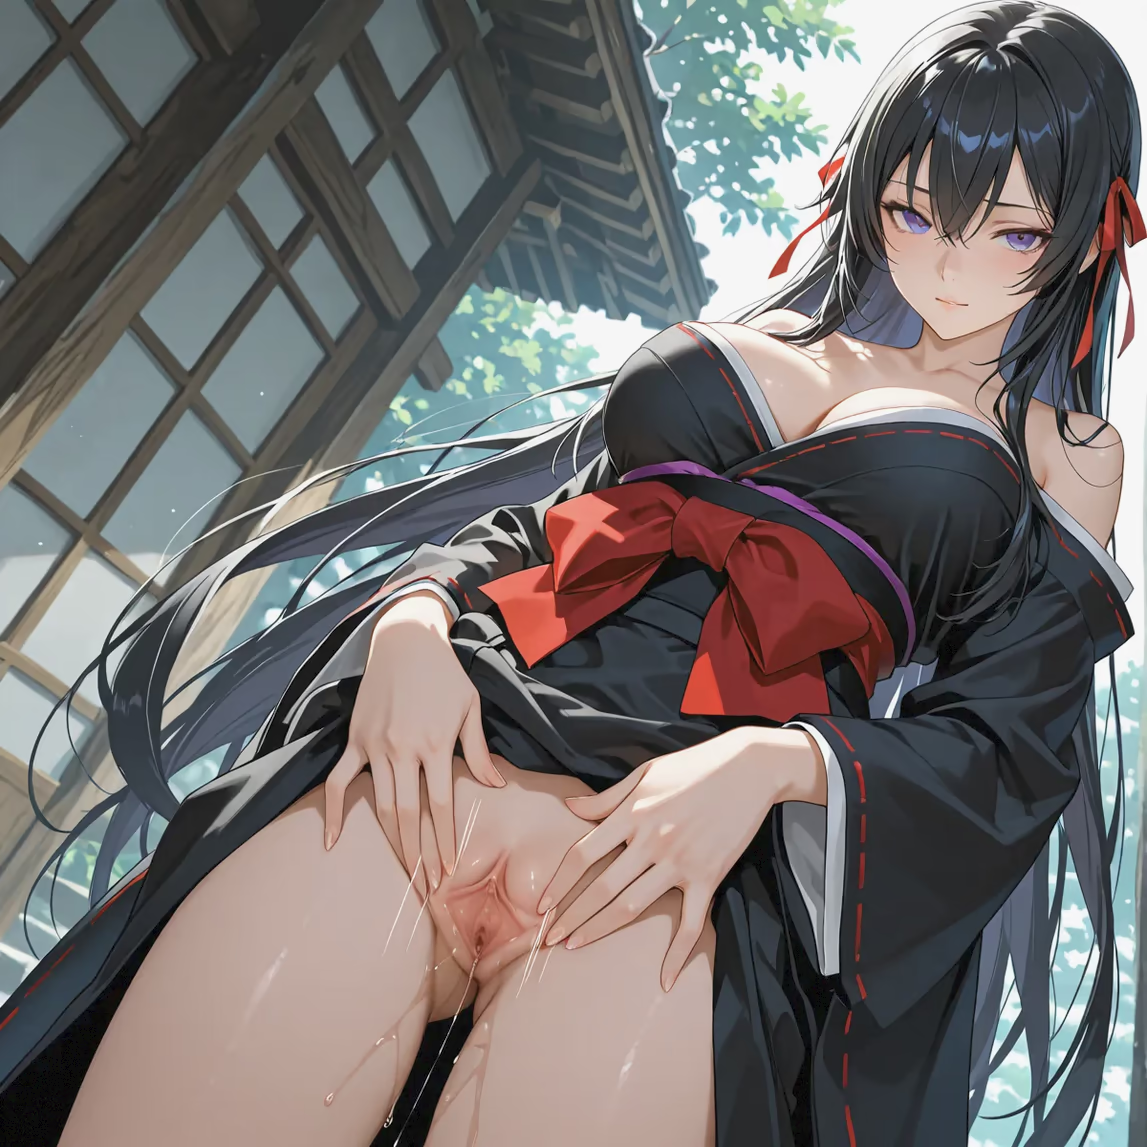
Yoruka Kirihime - Undefeated Bahamut Chronicle — image 125 of 389
125 / 389
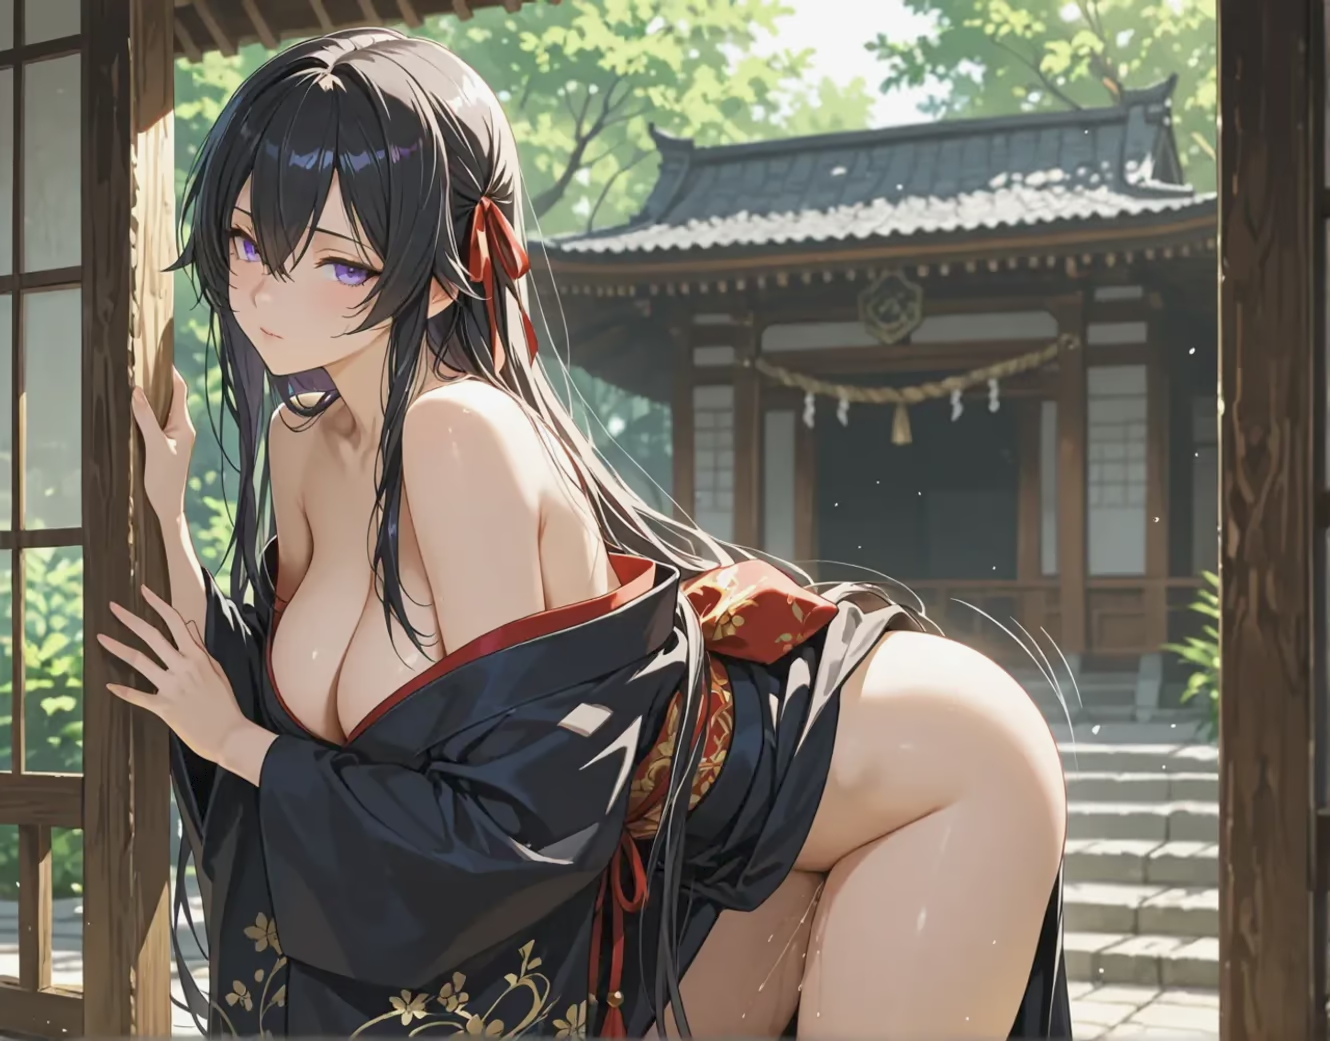
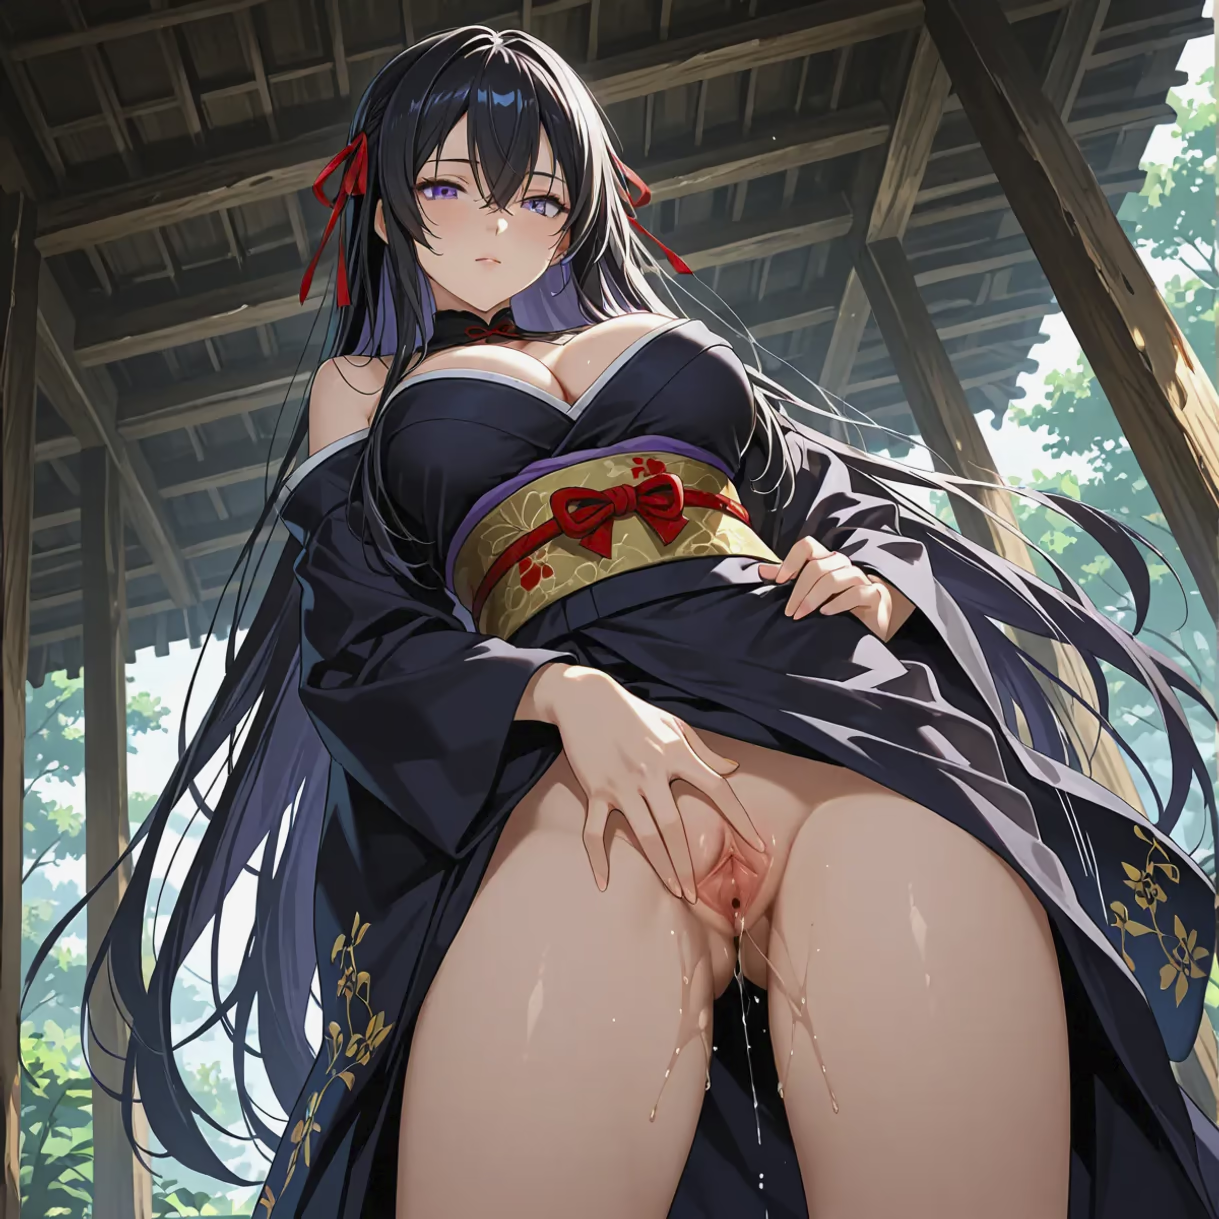
Yoruka Kirihime - Undefeated Bahamut Chronicle — image 126 of 389
126 / 389
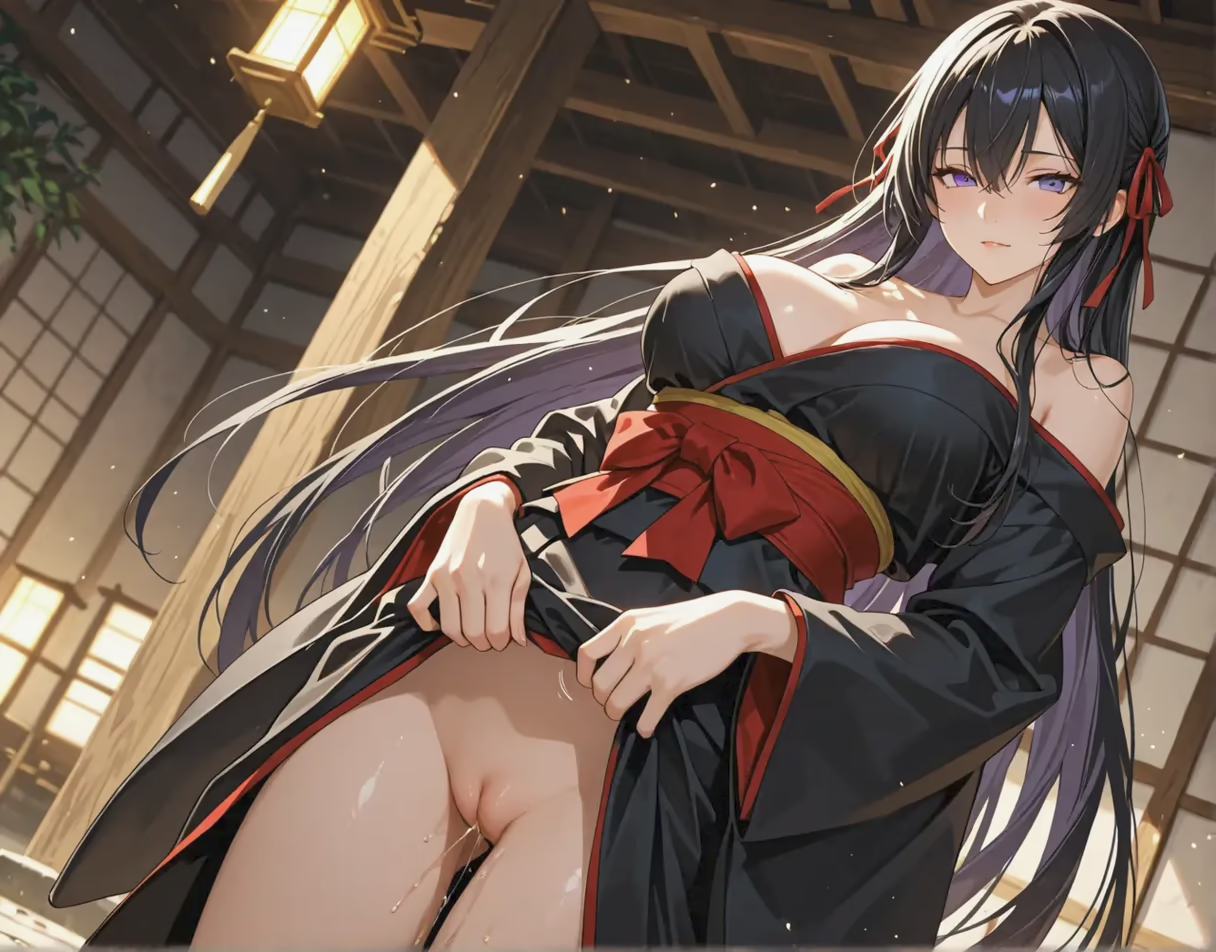
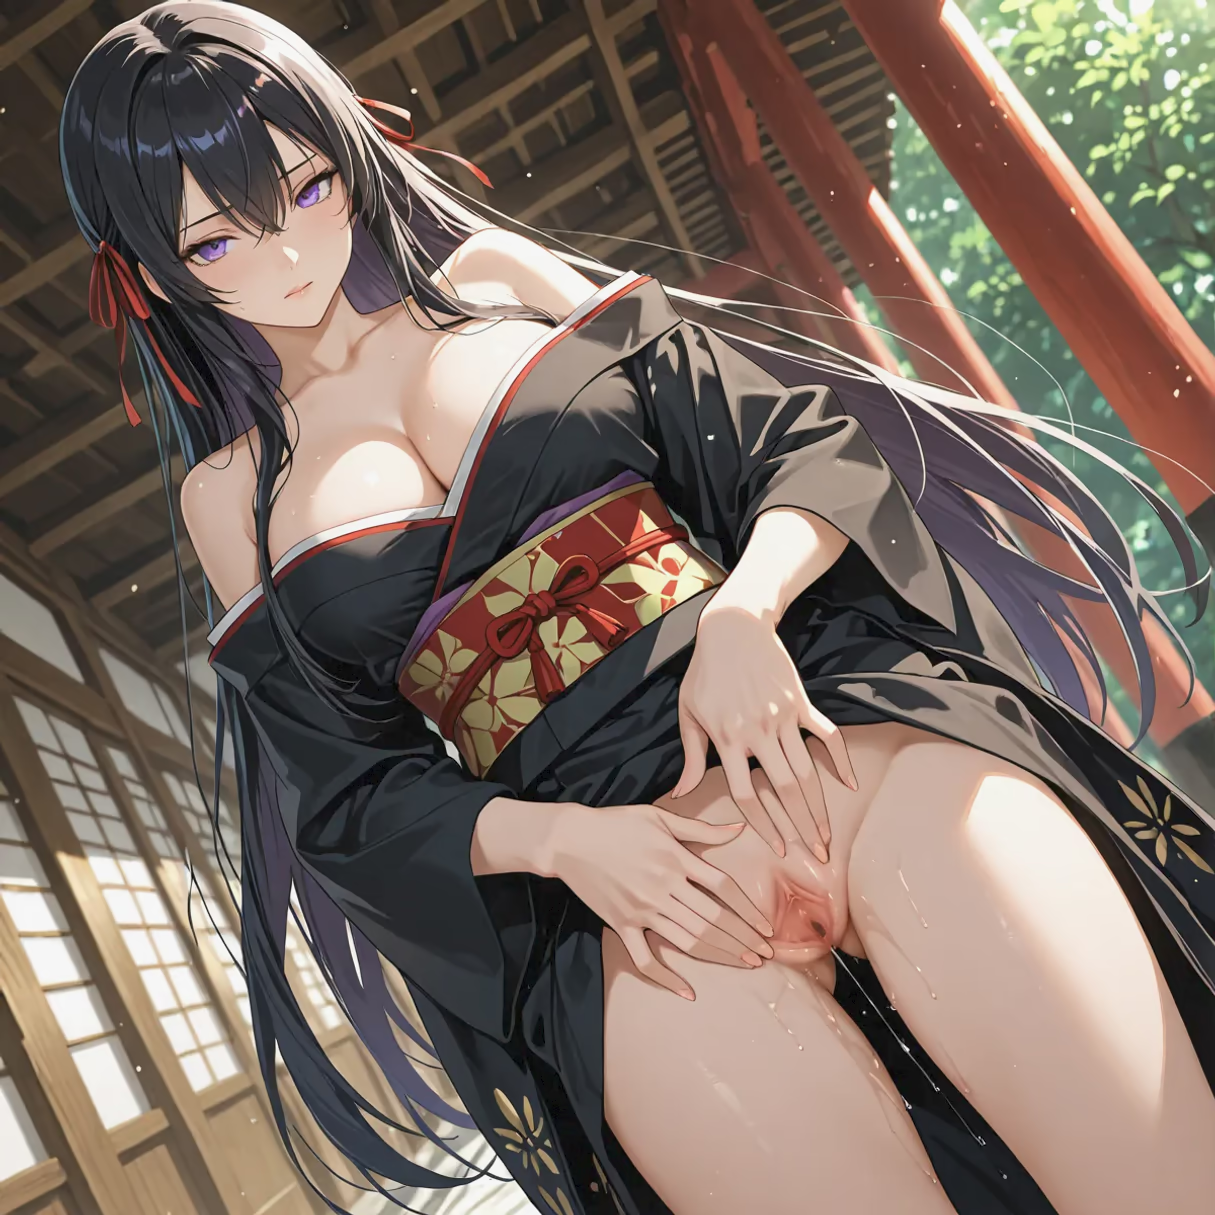
Yoruka Kirihime - Undefeated Bahamut Chronicle — image 127 of 389
127 / 389
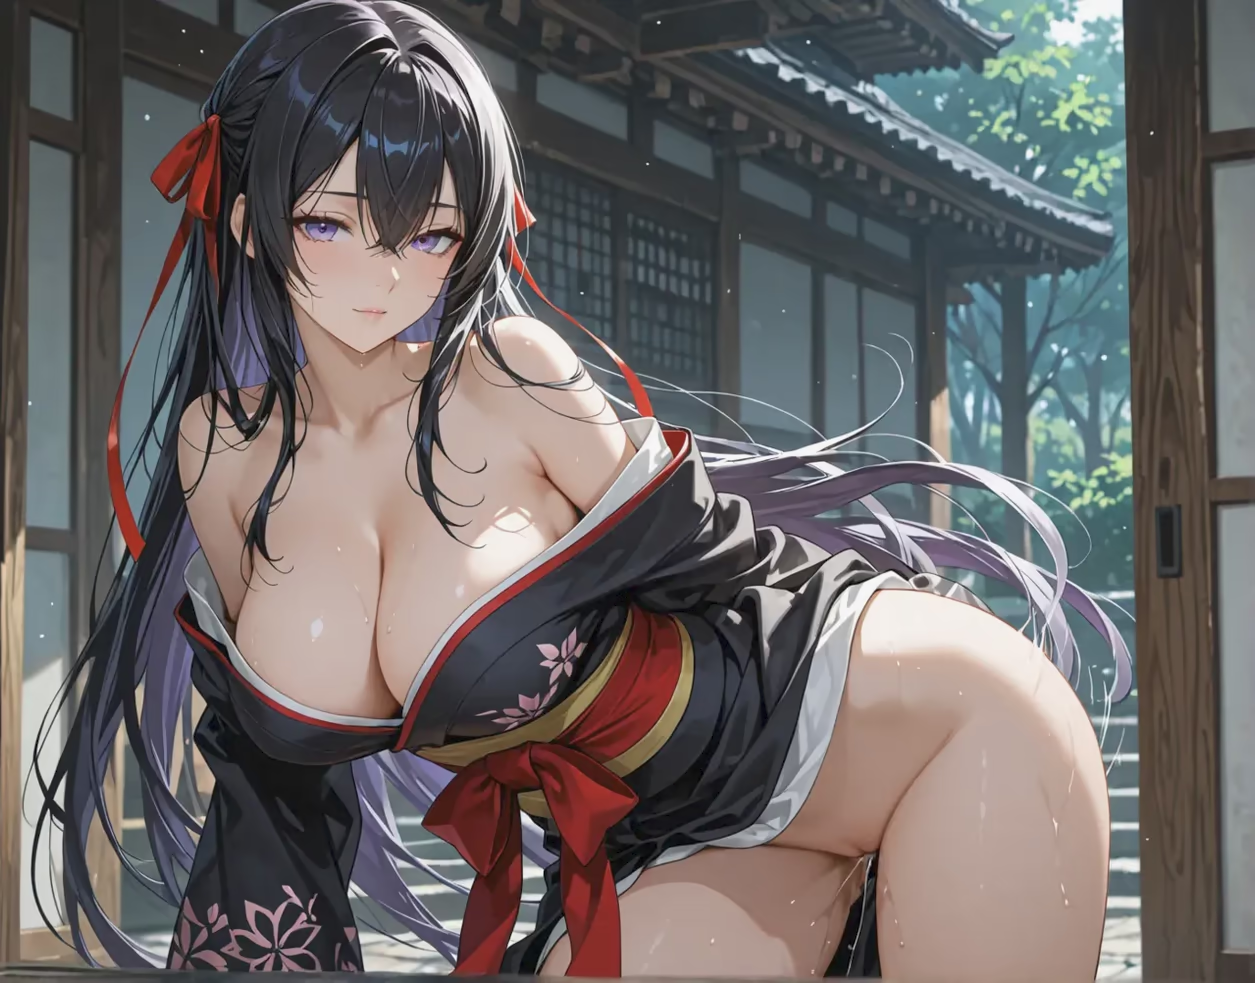
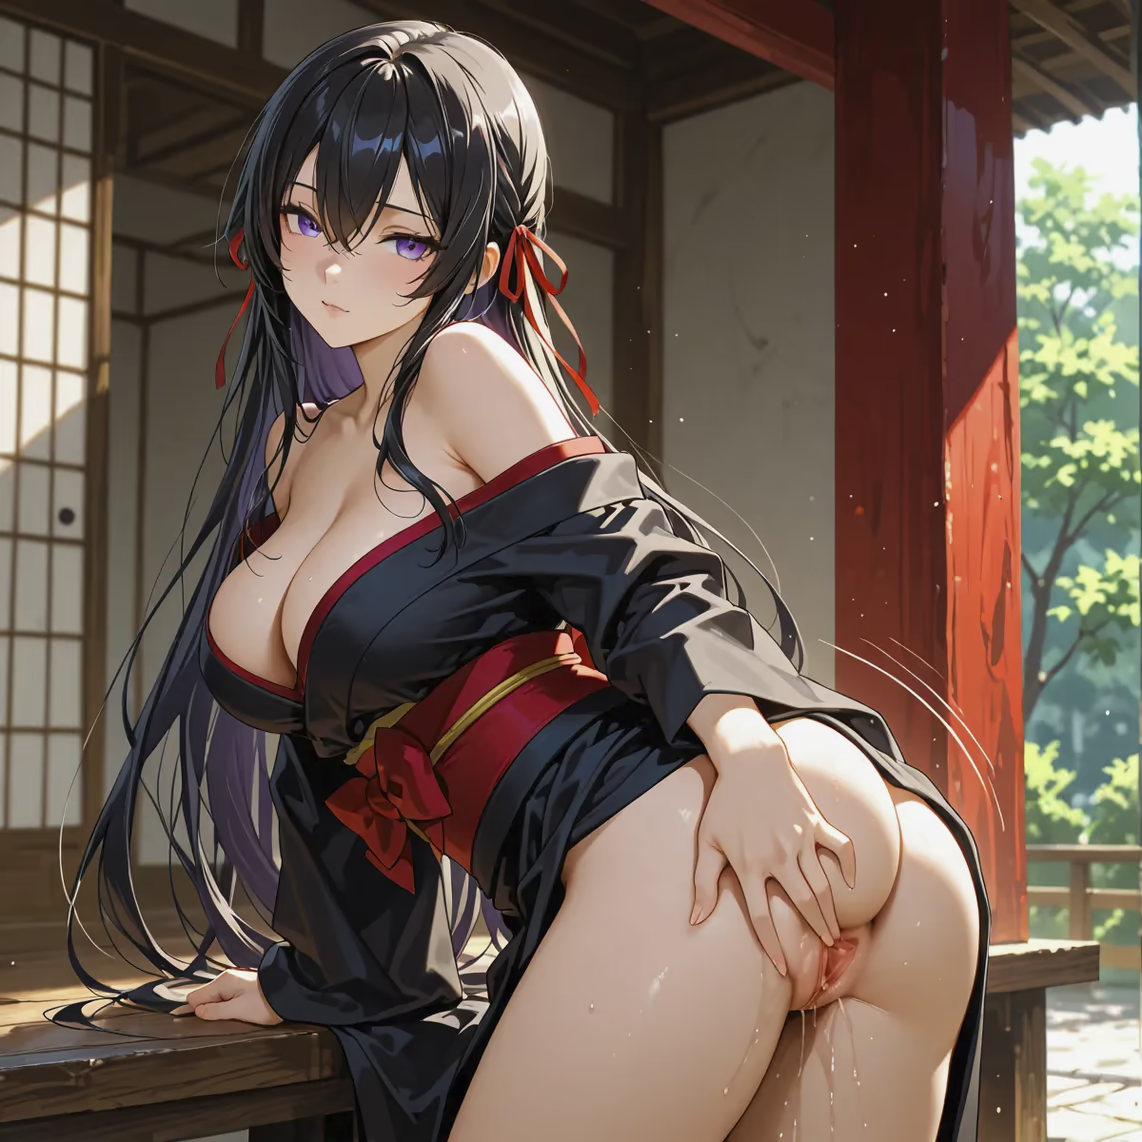
Yoruka Kirihime - Undefeated Bahamut Chronicle — image 128 of 389
128 / 389
Yoruka Kirihime - Undefeated Bahamut Chronicle — image 129 of 389
129 / 389
Yoruka Kirihime - Undefeated Bahamut Chronicle — image 130 of 389
130 / 389
Yoruka Kirihime - Undefeated Bahamut Chronicle — image 131 of 389
131 / 389
Yoruka Kirihime - Undefeated Bahamut Chronicle — image 132 of 389
132 / 389
Yoruka Kirihime - Undefeated Bahamut Chronicle — image 133 of 389
133 / 389
Yoruka Kirihime - Undefeated Bahamut Chronicle — image 134 of 389
134 / 389
Yoruka Kirihime - Undefeated Bahamut Chronicle — image 135 of 389
135 / 389
Yoruka Kirihime - Undefeated Bahamut Chronicle — image 136 of 389
136 / 389

Yoruka Kirihime - Undefeated Bahamut Chronicle — image 137 of 389
137 / 389

Yoruka Kirihime - Undefeated Bahamut Chronicle — image 138 of 389

138 / 389
Yoruka Kirihime - Undefeated Bahamut Chronicle — image 139 of 389
139 / 389
Yoruka Kirihime - Undefeated Bahamut Chronicle — image 140 of 389
140 / 389
Yoruka Kirihime - Undefeated Bahamut Chronicle — image 141 of 389
141 / 389
Yoruka Kirihime - Undefeated Bahamut Chronicle — image 142 of 389
142 / 389
Yoruka Kirihime - Undefeated Bahamut Chronicle — image 143 of 389
143 / 389
Yoruka Kirihime - Undefeated Bahamut Chronicle — image 144 of 389
144 / 389
Yoruka Kirihime - Undefeated Bahamut Chronicle — image 145 of 389
145 / 389
Yoruka Kirihime - Undefeated Bahamut Chronicle — image 146 of 389
146 / 389
Yoruka Kirihime - Undefeated Bahamut Chronicle — image 147 of 389
147 / 389
Yoruka Kirihime - Undefeated Bahamut Chronicle — image 148 of 389
148 / 389
Yoruka Kirihime - Undefeated Bahamut Chronicle — image 149 of 389
149 / 389
Yoruka Kirihime - Undefeated Bahamut Chronicle — image 150 of 389
150 / 389
Yoruka Kirihime - Undefeated Bahamut Chronicle — image 151 of 389
151 / 389
Yoruka Kirihime - Undefeated Bahamut Chronicle — image 152 of 389
152 / 389
Yoruka Kirihime - Undefeated Bahamut Chronicle — image 153 of 389
153 / 389
Yoruka Kirihime - Undefeated Bahamut Chronicle — image 154 of 389
154 / 389
Yoruka Kirihime - Undefeated Bahamut Chronicle — image 155 of 389
155 / 389
Yoruka Kirihime - Undefeated Bahamut Chronicle — image 156 of 389
156 / 389
Yoruka Kirihime - Undefeated Bahamut Chronicle — image 157 of 389
157 / 389
Yoruka Kirihime - Undefeated Bahamut Chronicle — image 158 of 389
158 / 389
Yoruka Kirihime - Undefeated Bahamut Chronicle — image 159 of 389
159 / 389
Yoruka Kirihime - Undefeated Bahamut Chronicle — image 160 of 389
160 / 389
Yoruka Kirihime - Undefeated Bahamut Chronicle — image 161 of 389
161 / 389
Yoruka Kirihime - Undefeated Bahamut Chronicle — image 162 of 389
162 / 389
Yoruka Kirihime - Undefeated Bahamut Chronicle — image 163 of 389
163 / 389
Yoruka Kirihime - Undefeated Bahamut Chronicle — image 164 of 389
164 / 389
Yoruka Kirihime - Undefeated Bahamut Chronicle — image 165 of 389
165 / 389
Yoruka Kirihime - Undefeated Bahamut Chronicle — image 166 of 389
166 / 389
Yoruka Kirihime - Undefeated Bahamut Chronicle — image 167 of 389
167 / 389
Yoruka Kirihime - Undefeated Bahamut Chronicle — image 168 of 389
168 / 389
Yoruka Kirihime - Undefeated Bahamut Chronicle — image 169 of 389
169 / 389
Yoruka Kirihime - Undefeated Bahamut Chronicle — image 170 of 389
170 / 389
Yoruka Kirihime - Undefeated Bahamut Chronicle — image 171 of 389
171 / 389
Yoruka Kirihime - Undefeated Bahamut Chronicle — image 172 of 389
172 / 389
Yoruka Kirihime - Undefeated Bahamut Chronicle — image 173 of 389
173 / 389
Yoruka Kirihime - Undefeated Bahamut Chronicle — image 174 of 389
174 / 389
Yoruka Kirihime - Undefeated Bahamut Chronicle — image 175 of 389
175 / 389
Yoruka Kirihime - Undefeated Bahamut Chronicle — image 176 of 389
176 / 389
Yoruka Kirihime - Undefeated Bahamut Chronicle — image 177 of 389
177 / 389
Yoruka Kirihime - Undefeated Bahamut Chronicle — image 178 of 389
178 / 389
Yoruka Kirihime - Undefeated Bahamut Chronicle — image 179 of 389
179 / 389
Yoruka Kirihime - Undefeated Bahamut Chronicle — image 180 of 389
180 / 389
Yoruka Kirihime - Undefeated Bahamut Chronicle — image 181 of 389
181 / 389
Yoruka Kirihime - Undefeated Bahamut Chronicle — image 182 of 389
182 / 389
Yoruka Kirihime - Undefeated Bahamut Chronicle — image 183 of 389
183 / 389
Yoruka Kirihime - Undefeated Bahamut Chronicle — image 184 of 389
184 / 389
Yoruka Kirihime - Undefeated Bahamut Chronicle — image 185 of 389
185 / 389
Yoruka Kirihime - Undefeated Bahamut Chronicle — image 186 of 389
186 / 389
Yoruka Kirihime - Undefeated Bahamut Chronicle — image 187 of 389
187 / 389
Yoruka Kirihime - Undefeated Bahamut Chronicle — image 188 of 389
188 / 389
Yoruka Kirihime - Undefeated Bahamut Chronicle — image 189 of 389
189 / 389
Yoruka Kirihime - Undefeated Bahamut Chronicle — image 190 of 389
190 / 389
Yoruka Kirihime - Undefeated Bahamut Chronicle — image 191 of 389
191 / 389
Yoruka Kirihime - Undefeated Bahamut Chronicle — image 192 of 389
192 / 389
Yoruka Kirihime - Undefeated Bahamut Chronicle — image 193 of 389
193 / 389
Yoruka Kirihime - Undefeated Bahamut Chronicle — image 194 of 389
194 / 389
Yoruka Kirihime - Undefeated Bahamut Chronicle — image 195 of 389
195 / 389
Yoruka Kirihime - Undefeated Bahamut Chronicle — image 196 of 389
196 / 389
Yoruka Kirihime - Undefeated Bahamut Chronicle — image 197 of 389
197 / 389
Yoruka Kirihime - Undefeated Bahamut Chronicle — image 198 of 389
198 / 389
Yoruka Kirihime - Undefeated Bahamut Chronicle — image 199 of 389
199 / 389
Yoruka Kirihime - Undefeated Bahamut Chronicle — image 200 of 389
200 / 389
Yoruka Kirihime - Undefeated Bahamut Chronicle — image 201 of 389
201 / 389
Yoruka Kirihime - Undefeated Bahamut Chronicle — image 202 of 389
202 / 389
Yoruka Kirihime - Undefeated Bahamut Chronicle — image 203 of 389
203 / 389
Yoruka Kirihime - Undefeated Bahamut Chronicle — image 204 of 389
204 / 389
Yoruka Kirihime - Undefeated Bahamut Chronicle — image 205 of 389
205 / 389
Yoruka Kirihime - Undefeated Bahamut Chronicle — image 206 of 389
206 / 389
Yoruka Kirihime - Undefeated Bahamut Chronicle — image 207 of 389
207 / 389
Yoruka Kirihime - Undefeated Bahamut Chronicle — image 208 of 389
208 / 389
Yoruka Kirihime - Undefeated Bahamut Chronicle — image 209 of 389
209 / 389
Yoruka Kirihime - Undefeated Bahamut Chronicle — image 210 of 389
210 / 389
Yoruka Kirihime - Undefeated Bahamut Chronicle — image 211 of 389
211 / 389
Yoruka Kirihime - Undefeated Bahamut Chronicle — image 212 of 389
212 / 389
Yoruka Kirihime - Undefeated Bahamut Chronicle — image 213 of 389
213 / 389
Yoruka Kirihime - Undefeated Bahamut Chronicle — image 214 of 389
214 / 389
Yoruka Kirihime - Undefeated Bahamut Chronicle — image 215 of 389
215 / 389
Yoruka Kirihime - Undefeated Bahamut Chronicle — image 216 of 389
216 / 389
Yoruka Kirihime - Undefeated Bahamut Chronicle — image 217 of 389
217 / 389
Yoruka Kirihime - Undefeated Bahamut Chronicle — image 218 of 389
218 / 389
Yoruka Kirihime - Undefeated Bahamut Chronicle — image 219 of 389
219 / 389
Yoruka Kirihime - Undefeated Bahamut Chronicle — image 220 of 389
220 / 389
Yoruka Kirihime - Undefeated Bahamut Chronicle — image 221 of 389
221 / 389
Yoruka Kirihime - Undefeated Bahamut Chronicle — image 222 of 389
222 / 389
Yoruka Kirihime - Undefeated Bahamut Chronicle — image 223 of 389
223 / 389
Yoruka Kirihime - Undefeated Bahamut Chronicle — image 224 of 389
224 / 389