Hentai GalleryPage 4 / 5

Yoruka Kirihime - Undefeated Bahamut Chronicle (Saijaku Muhai no Bahamut) - Hentai Gallery 5 — Page 4

Images 225–324 of 389

Back to main gallery
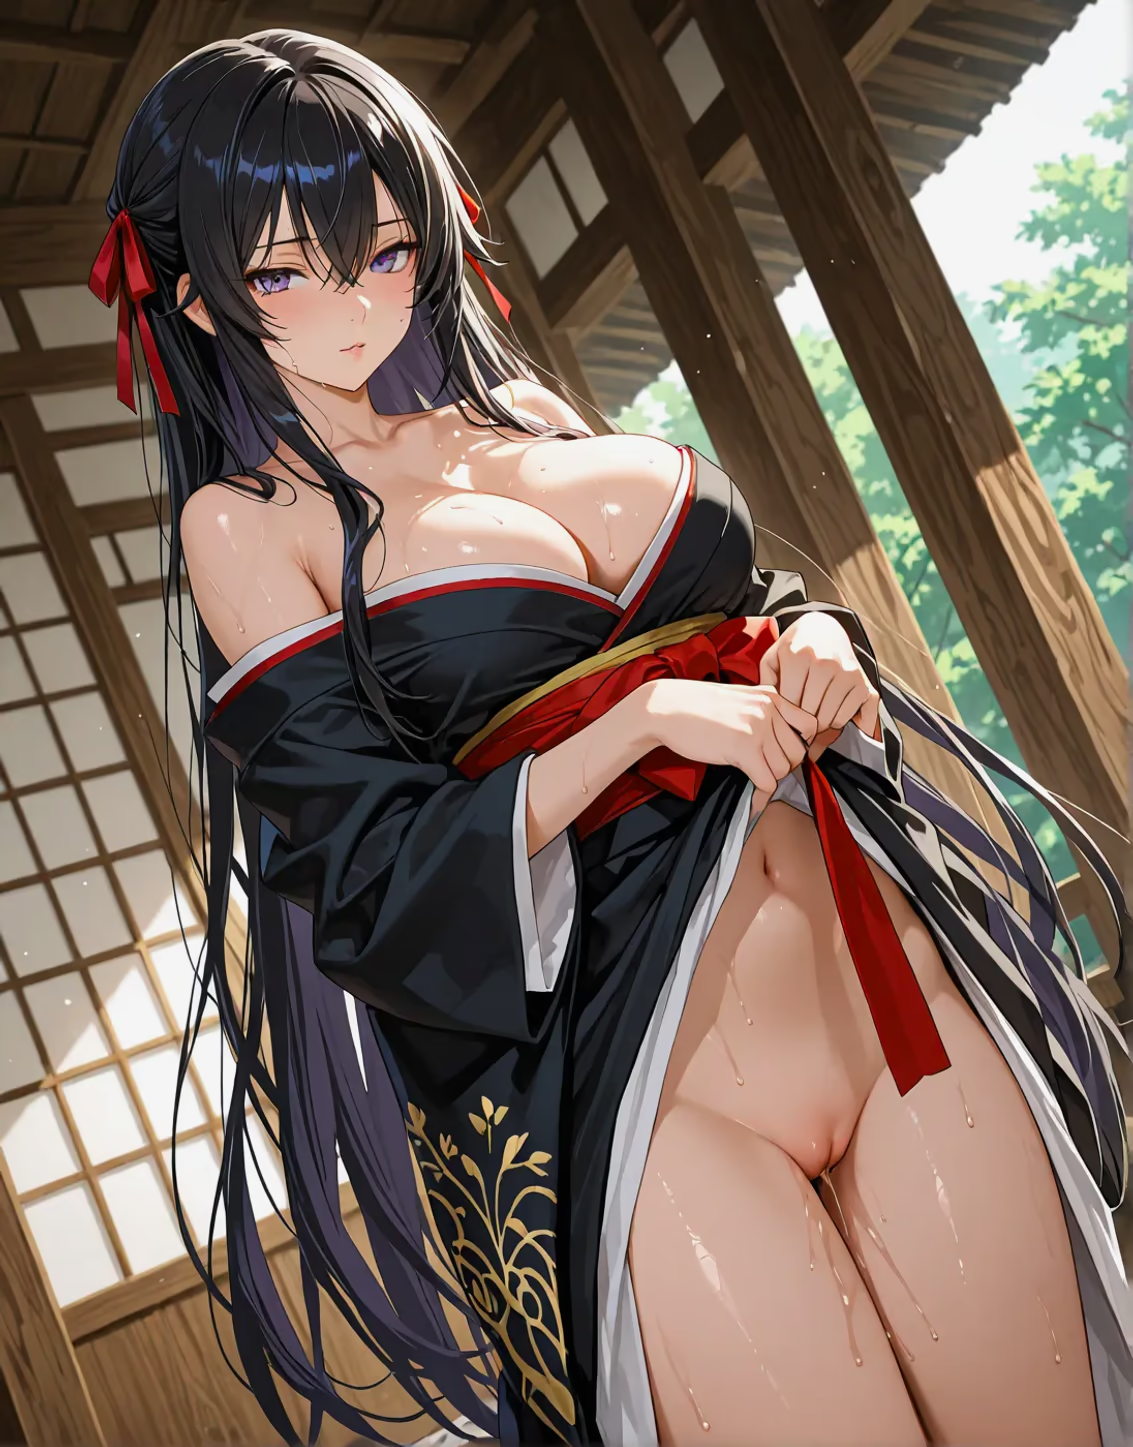
Yoruka Kirihime - Undefeated Bahamut Chronicle — image 225 of 389
225 / 389
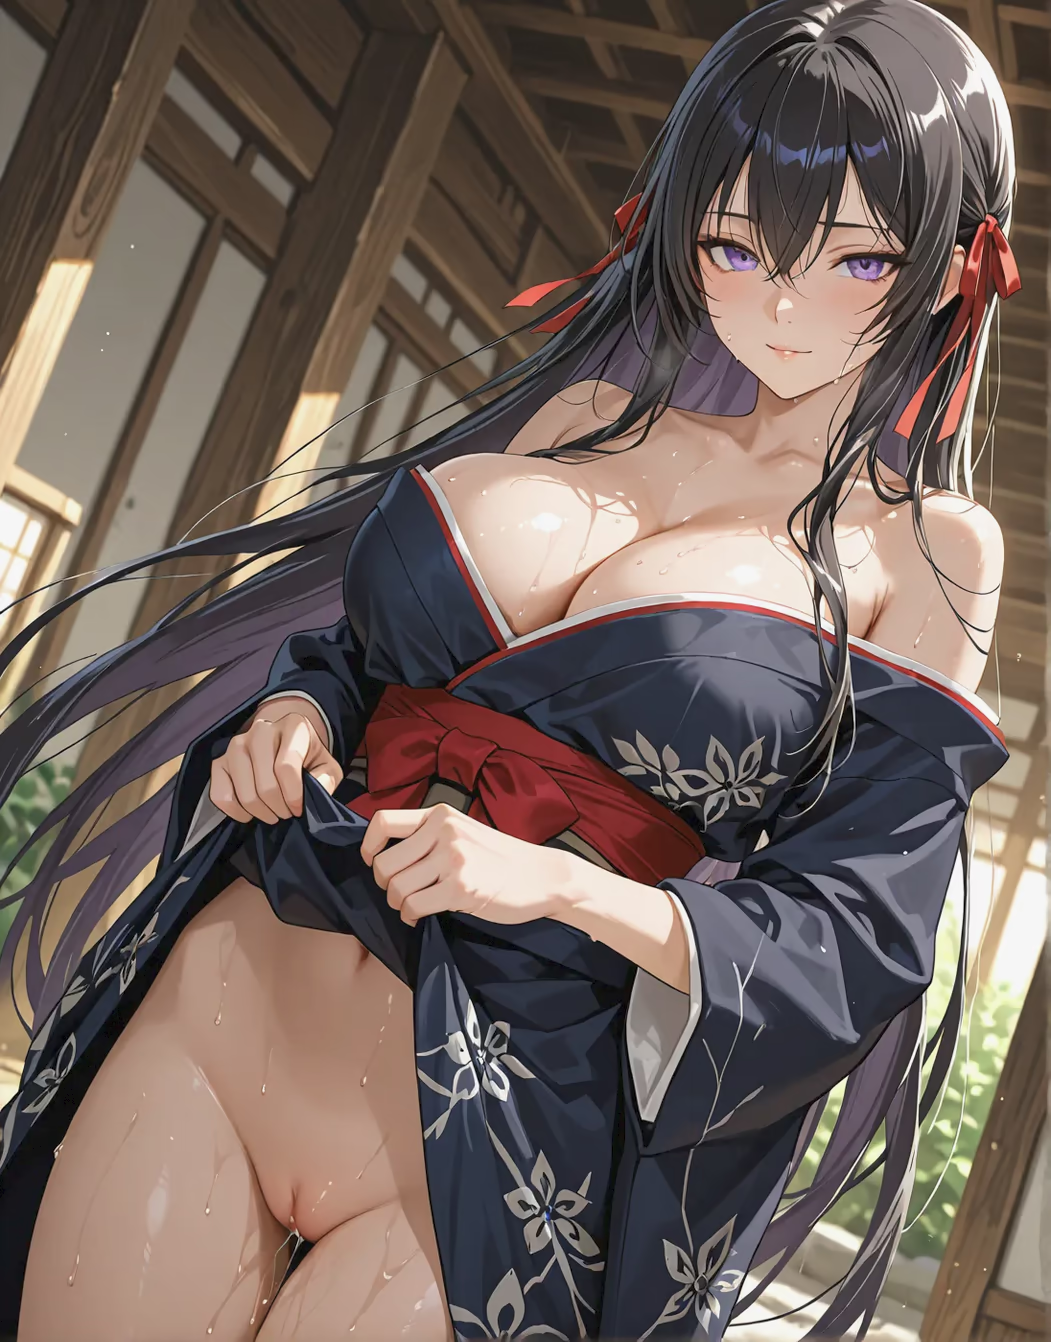
Yoruka Kirihime - Undefeated Bahamut Chronicle — image 226 of 389
226 / 389
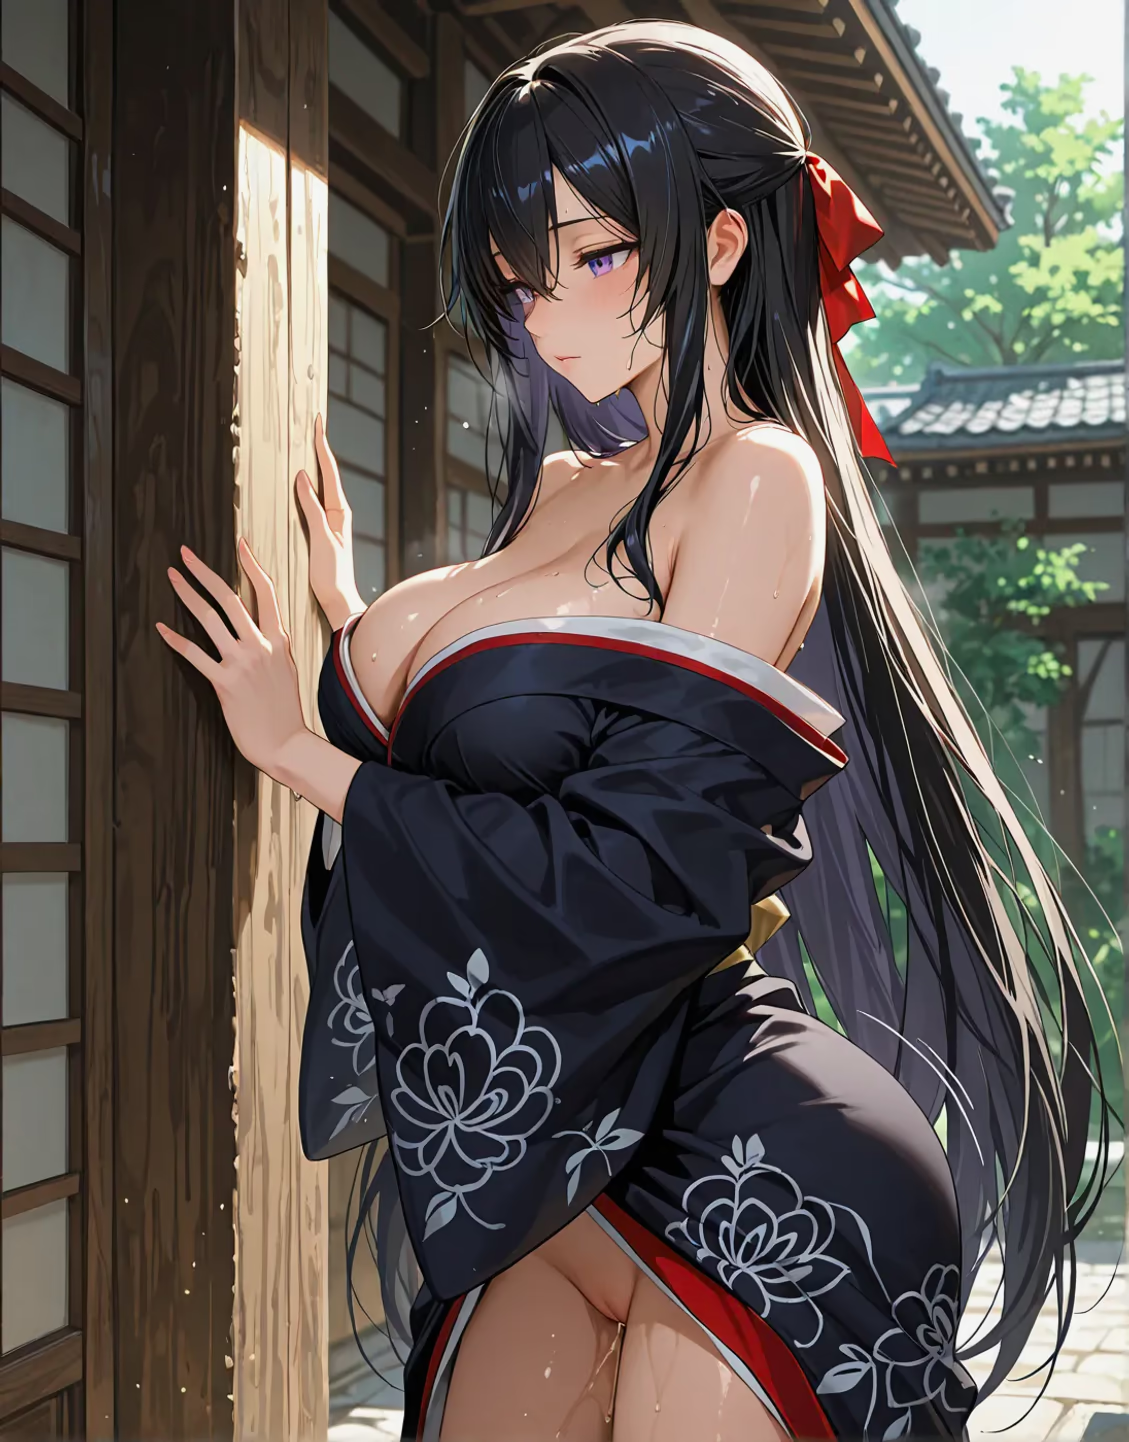
Yoruka Kirihime - Undefeated Bahamut Chronicle — image 227 of 389
227 / 389
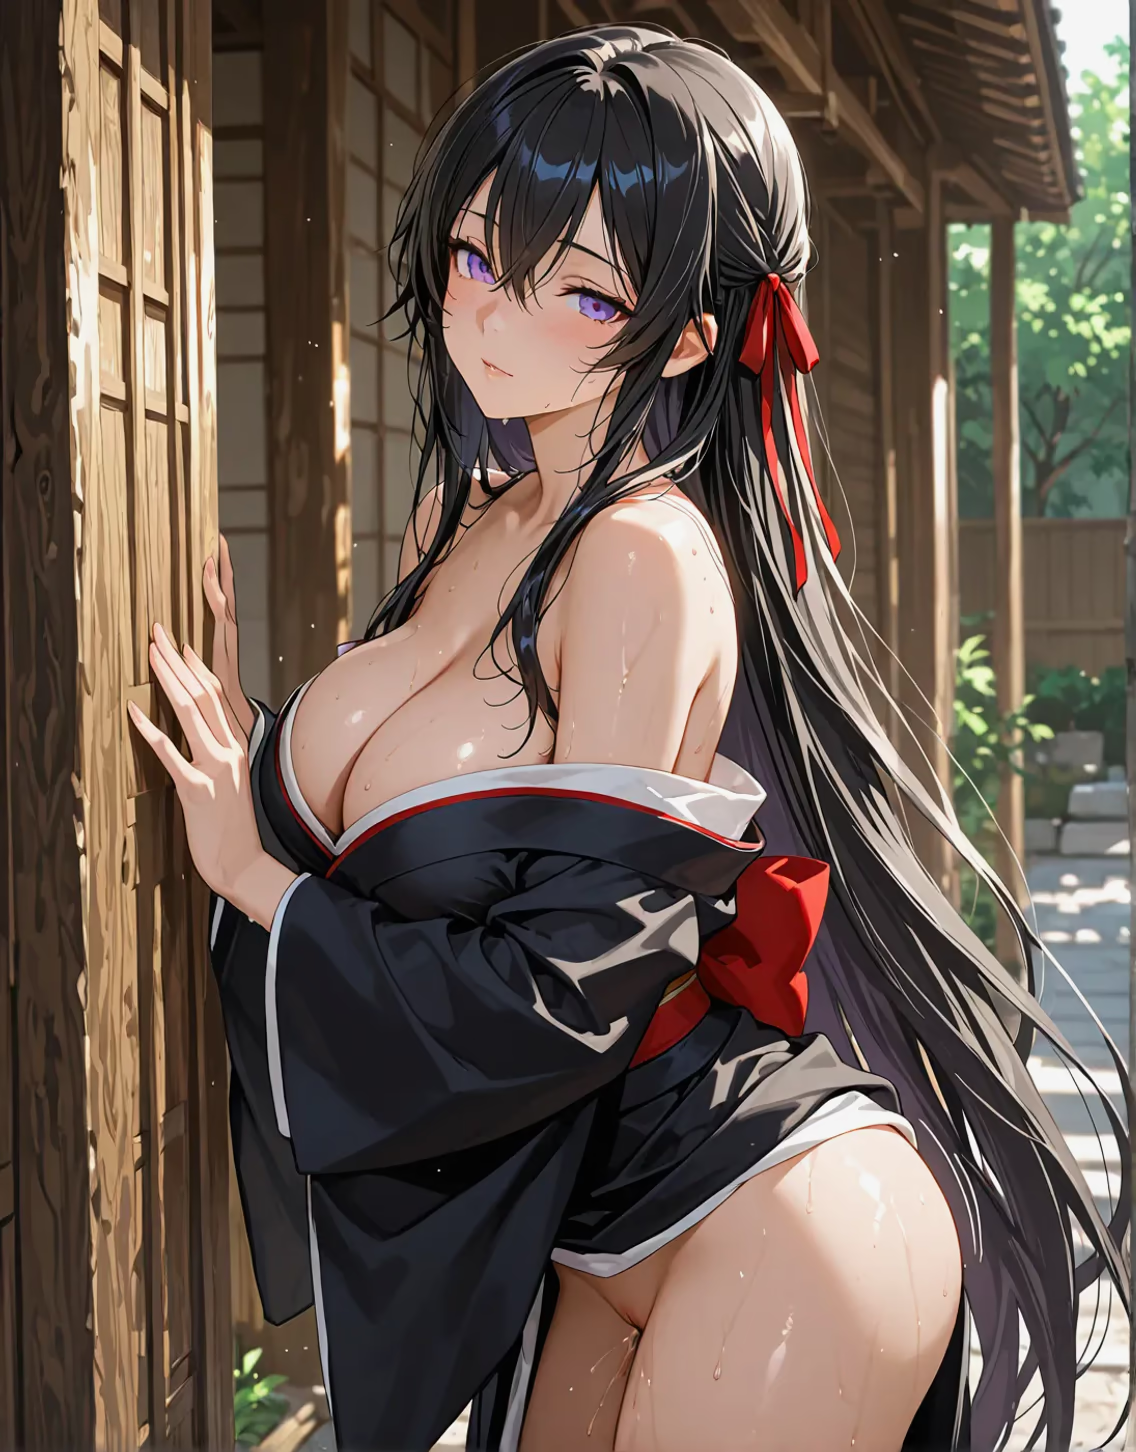
Yoruka Kirihime - Undefeated Bahamut Chronicle — image 228 of 389
228 / 389
Yoruka Kirihime - Undefeated Bahamut Chronicle — image 229 of 389
229 / 389
Yoruka Kirihime - Undefeated Bahamut Chronicle — image 230 of 389
230 / 389
Yoruka Kirihime - Undefeated Bahamut Chronicle — image 231 of 389
231 / 389
Yoruka Kirihime - Undefeated Bahamut Chronicle — image 232 of 389
232 / 389
Yoruka Kirihime - Undefeated Bahamut Chronicle — image 233 of 389
233 / 389
Yoruka Kirihime - Undefeated Bahamut Chronicle — image 234 of 389
234 / 389
Yoruka Kirihime - Undefeated Bahamut Chronicle — image 235 of 389
235 / 389
Yoruka Kirihime - Undefeated Bahamut Chronicle — image 236 of 389
236 / 389
Yoruka Kirihime - Undefeated Bahamut Chronicle — image 237 of 389
237 / 389
Yoruka Kirihime - Undefeated Bahamut Chronicle — image 238 of 389
238 / 389
Yoruka Kirihime - Undefeated Bahamut Chronicle — image 239 of 389
239 / 389
Yoruka Kirihime - Undefeated Bahamut Chronicle — image 240 of 389
240 / 389
Yoruka Kirihime - Undefeated Bahamut Chronicle — image 241 of 389
241 / 389
Yoruka Kirihime - Undefeated Bahamut Chronicle — image 242 of 389
242 / 389
Yoruka Kirihime - Undefeated Bahamut Chronicle — image 243 of 389
243 / 389
Yoruka Kirihime - Undefeated Bahamut Chronicle — image 244 of 389
244 / 389
Yoruka Kirihime - Undefeated Bahamut Chronicle — image 245 of 389
245 / 389
Yoruka Kirihime - Undefeated Bahamut Chronicle — image 246 of 389
246 / 389
Yoruka Kirihime - Undefeated Bahamut Chronicle — image 247 of 389
247 / 389
Yoruka Kirihime - Undefeated Bahamut Chronicle — image 248 of 389

248 / 389
Yoruka Kirihime - Undefeated Bahamut Chronicle — image 249 of 389
249 / 389
Yoruka Kirihime - Undefeated Bahamut Chronicle — image 250 of 389
250 / 389
Yoruka Kirihime - Undefeated Bahamut Chronicle — image 251 of 389
251 / 389
Yoruka Kirihime - Undefeated Bahamut Chronicle — image 252 of 389
252 / 389
Yoruka Kirihime - Undefeated Bahamut Chronicle — image 253 of 389
253 / 389
Yoruka Kirihime - Undefeated Bahamut Chronicle — image 254 of 389
254 / 389
Yoruka Kirihime - Undefeated Bahamut Chronicle — image 255 of 389
255 / 389
Yoruka Kirihime - Undefeated Bahamut Chronicle — image 256 of 389
256 / 389
Yoruka Kirihime - Undefeated Bahamut Chronicle — image 257 of 389
257 / 389
Yoruka Kirihime - Undefeated Bahamut Chronicle — image 258 of 389
258 / 389
Yoruka Kirihime - Undefeated Bahamut Chronicle — image 259 of 389
259 / 389
Yoruka Kirihime - Undefeated Bahamut Chronicle — image 260 of 389
260 / 389
Yoruka Kirihime - Undefeated Bahamut Chronicle — image 261 of 389
261 / 389
Yoruka Kirihime - Undefeated Bahamut Chronicle — image 262 of 389
262 / 389
Yoruka Kirihime - Undefeated Bahamut Chronicle — image 263 of 389
263 / 389
Yoruka Kirihime - Undefeated Bahamut Chronicle — image 264 of 389
264 / 389
Yoruka Kirihime - Undefeated Bahamut Chronicle — image 265 of 389
265 / 389
Yoruka Kirihime - Undefeated Bahamut Chronicle — image 266 of 389
266 / 389
Yoruka Kirihime - Undefeated Bahamut Chronicle — image 267 of 389
267 / 389
Yoruka Kirihime - Undefeated Bahamut Chronicle — image 268 of 389
268 / 389
Yoruka Kirihime - Undefeated Bahamut Chronicle — image 269 of 389
269 / 389
Yoruka Kirihime - Undefeated Bahamut Chronicle — image 270 of 389
270 / 389
Yoruka Kirihime - Undefeated Bahamut Chronicle — image 271 of 389
271 / 389
Yoruka Kirihime - Undefeated Bahamut Chronicle — image 272 of 389
272 / 389
Yoruka Kirihime - Undefeated Bahamut Chronicle — image 273 of 389
273 / 389
Yoruka Kirihime - Undefeated Bahamut Chronicle — image 274 of 389
274 / 389
Yoruka Kirihime - Undefeated Bahamut Chronicle — image 275 of 389
275 / 389
Yoruka Kirihime - Undefeated Bahamut Chronicle — image 276 of 389
276 / 389
Yoruka Kirihime - Undefeated Bahamut Chronicle — image 277 of 389
277 / 389
Yoruka Kirihime - Undefeated Bahamut Chronicle — image 278 of 389
278 / 389
Yoruka Kirihime - Undefeated Bahamut Chronicle — image 279 of 389
279 / 389
Yoruka Kirihime - Undefeated Bahamut Chronicle — image 280 of 389
280 / 389
Yoruka Kirihime - Undefeated Bahamut Chronicle — image 281 of 389
281 / 389
Yoruka Kirihime - Undefeated Bahamut Chronicle — image 282 of 389
282 / 389
Yoruka Kirihime - Undefeated Bahamut Chronicle — image 283 of 389
283 / 389
Yoruka Kirihime - Undefeated Bahamut Chronicle — image 284 of 389
284 / 389
Yoruka Kirihime - Undefeated Bahamut Chronicle — image 285 of 389
285 / 389
Yoruka Kirihime - Undefeated Bahamut Chronicle — image 286 of 389
286 / 389
Yoruka Kirihime - Undefeated Bahamut Chronicle — image 287 of 389
287 / 389
Yoruka Kirihime - Undefeated Bahamut Chronicle — image 288 of 389
288 / 389
Yoruka Kirihime - Undefeated Bahamut Chronicle — image 289 of 389
289 / 389
Yoruka Kirihime - Undefeated Bahamut Chronicle — image 290 of 389
290 / 389
Yoruka Kirihime - Undefeated Bahamut Chronicle — image 291 of 389
291 / 389
Yoruka Kirihime - Undefeated Bahamut Chronicle — image 292 of 389
292 / 389
Yoruka Kirihime - Undefeated Bahamut Chronicle — image 293 of 389
293 / 389
Yoruka Kirihime - Undefeated Bahamut Chronicle — image 294 of 389
294 / 389
Yoruka Kirihime - Undefeated Bahamut Chronicle — image 295 of 389
295 / 389
Yoruka Kirihime - Undefeated Bahamut Chronicle — image 296 of 389
296 / 389
Yoruka Kirihime - Undefeated Bahamut Chronicle — image 297 of 389
297 / 389
Yoruka Kirihime - Undefeated Bahamut Chronicle — image 298 of 389
298 / 389
Yoruka Kirihime - Undefeated Bahamut Chronicle — image 299 of 389
299 / 389
Yoruka Kirihime - Undefeated Bahamut Chronicle — image 300 of 389
300 / 389
Yoruka Kirihime - Undefeated Bahamut Chronicle — image 301 of 389
301 / 389
Yoruka Kirihime - Undefeated Bahamut Chronicle — image 302 of 389
302 / 389
Yoruka Kirihime - Undefeated Bahamut Chronicle — image 303 of 389
303 / 389
Yoruka Kirihime - Undefeated Bahamut Chronicle — image 304 of 389
304 / 389
Yoruka Kirihime - Undefeated Bahamut Chronicle — image 305 of 389
305 / 389
Yoruka Kirihime - Undefeated Bahamut Chronicle — image 306 of 389
306 / 389
Yoruka Kirihime - Undefeated Bahamut Chronicle — image 307 of 389
307 / 389
Yoruka Kirihime - Undefeated Bahamut Chronicle — image 308 of 389
308 / 389
Yoruka Kirihime - Undefeated Bahamut Chronicle — image 309 of 389
309 / 389
Yoruka Kirihime - Undefeated Bahamut Chronicle — image 310 of 389
310 / 389
Yoruka Kirihime - Undefeated Bahamut Chronicle — image 311 of 389
311 / 389
Yoruka Kirihime - Undefeated Bahamut Chronicle — image 312 of 389
312 / 389
Yoruka Kirihime - Undefeated Bahamut Chronicle — image 313 of 389
313 / 389
Yoruka Kirihime - Undefeated Bahamut Chronicle — image 314 of 389
314 / 389
Yoruka Kirihime - Undefeated Bahamut Chronicle — image 315 of 389
315 / 389
Yoruka Kirihime - Undefeated Bahamut Chronicle — image 316 of 389
316 / 389
Yoruka Kirihime - Undefeated Bahamut Chronicle — image 317 of 389
317 / 389
Yoruka Kirihime - Undefeated Bahamut Chronicle — image 318 of 389
318 / 389
Yoruka Kirihime - Undefeated Bahamut Chronicle — image 319 of 389
319 / 389
Yoruka Kirihime - Undefeated Bahamut Chronicle — image 320 of 389
320 / 389
Yoruka Kirihime - Undefeated Bahamut Chronicle — image 321 of 389
321 / 389
Yoruka Kirihime - Undefeated Bahamut Chronicle — image 322 of 389
322 / 389
Yoruka Kirihime - Undefeated Bahamut Chronicle — image 323 of 389
323 / 389
Yoruka Kirihime - Undefeated Bahamut Chronicle — image 324 of 389
324 / 389